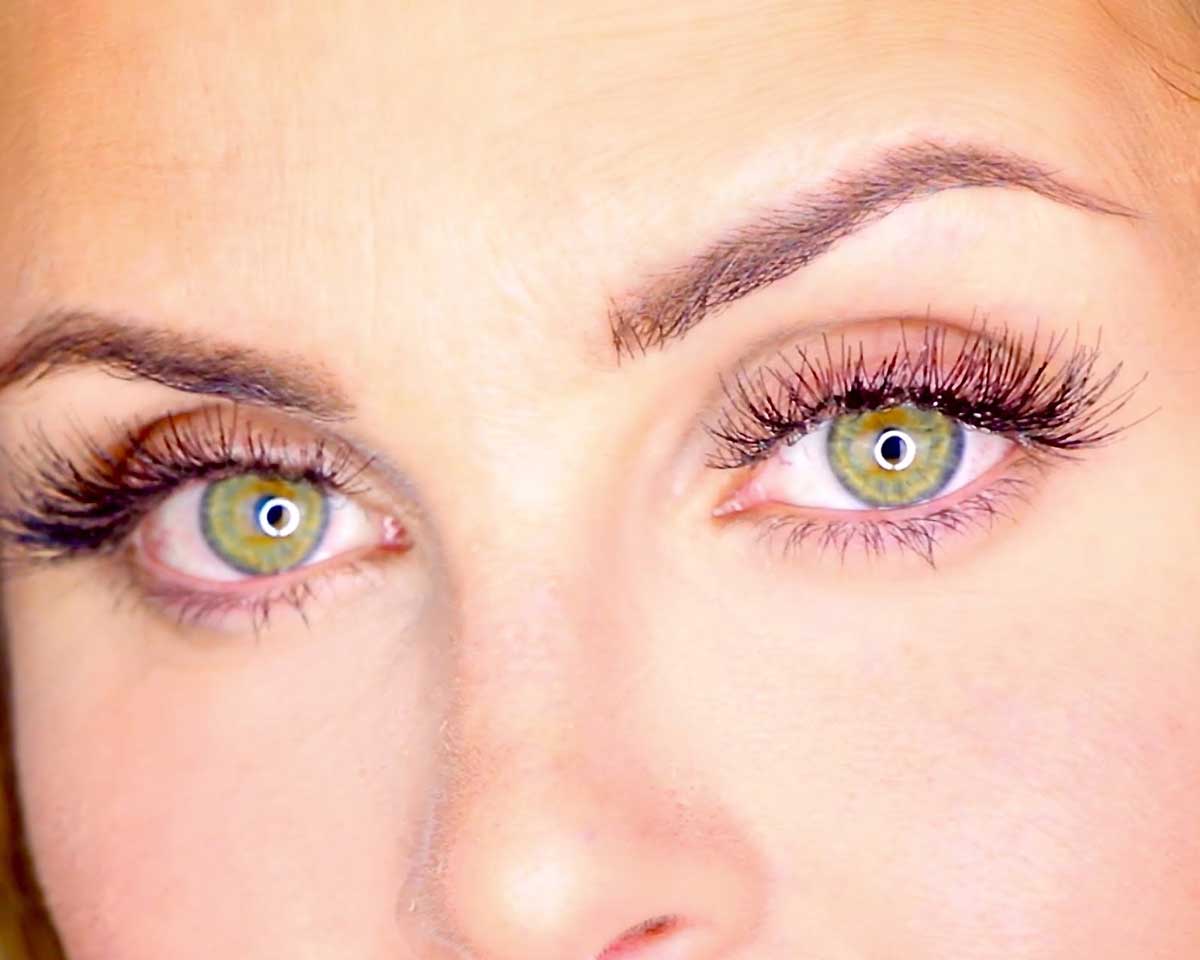
If you have recently mastered applying false eyelashes at home, you might be ready for a new challenge. Using DIY individual lashes allows you to create a more natural, authentic look. Eyelash extensions are a popular way of enhancing lashes to make them more prominent. However, getting them done is currently a challenge as many salons remain closed or have strict rules about how many clients they can serve.
Many women are not allowing this to get them down, turning instead to individual false eyelashes, which create a similar effect. Best of all, they can be applied at home. Here is what you need to know about them:
Get the best
The most valuable of all things you need to know about DIY individual lashes from Lilac St., Eylure Luxe, Vavalash, and House of Lash, is that quality is essential for a professional finish. Lilac St. DIY lash extensions create a natural look that many users love. They do not require much skill or practice to apply successfully, lasting up to five days when cared for properly.
The Lilac St. range allows users to mix and match different styles to create a unique, dramatic look that will have heads turning wherever you go. Another stand out product is the eyelashes by Trish McEvoy that are false full-length lash strips. They are preferred by women around the world as they give a dashing look to your eyes by adding naturalistic full length and volume.They are easy to apply and look cool on most face types.
DIY individual lashes that create stunning extensions vary in price, typically along the lines of quality. The best ones are made from softer, fluffier substances, like silk or mink. Less expensive products are harder, spikier, and look less natural, making it obvious they are fake.

Take your time
Applying individual lashes takes far longer than regular fake eyelashes. Going to a salon for eyelash extensions takes ages, and that is when a professional applies them. As a novice, it will require even more time and effort. Therefore, set aside a couple of hours to get your DIY individual lashes applied perfectly.
The additional advantage of these lashes is that they allow you to create a layered look that offers more authenticity and a stylish look others will find hard to emulate. You can customize your look without too much effort. DIY individual lashes do not look as bulky and stiff as false eyelash strips.
Get the right tools
Before attempting to attach your individual DIY lashes, gather the necessary supplies. As mentioned before, get a premium quality product, and ensure that you buy sufficient lashes. The last thing you want is to run out of lashes midway through the process.
Another vital requirement for successful lash fitment is adhesive. Lash glues come in various types. Black glue is ideal for those who intend to wear eyeliner and want to create a thicker lash-line. White glue creates a more natural look as it turns clear after drying. A pair of precision tweezers is also a must, as it assists in the application process.
Directions vary
Individual DIY lash products have differing usage directions, and users should always scrutinize them before starting. Do not assume that one brand works the same as others as it could have disastrous effects. While you might have a general idea of what to do, it helps to check that your knowledge aligns with the instructions.
The most important set of instructions comes with the lash adhesive. A misstep here could result in skin damage to the eyelid or losing your natural eyelashes. Choose a glue with a fine-tipped applicator to minimize how much glue you apply without creating a globby mess. Too much glue forms telltale clumps that even the untrained eye will see. Too little will have your lashes falling off at an inopportune time.
It is all about planning
Before you start affixing DIY individual lashes to your eyelids, plan it out carefully. Map out where you intend to stick the lashes to ensure they are evenly spaced. You might want to trim some of the lashes before moving forward to have shorter ones in the corners with longer eyelashes in the eyelid’s center. Lashes are best trimmed before application to avoid accidental injuries.
Start gluing each lash set to your eyelid, working from the middle of the eyelid out in either direction. Space them evenly and ensure they are straight and glued in place before moving to the next. Use tweezers to place the lashes and hold them in place, allowing the adhesive to bond.

